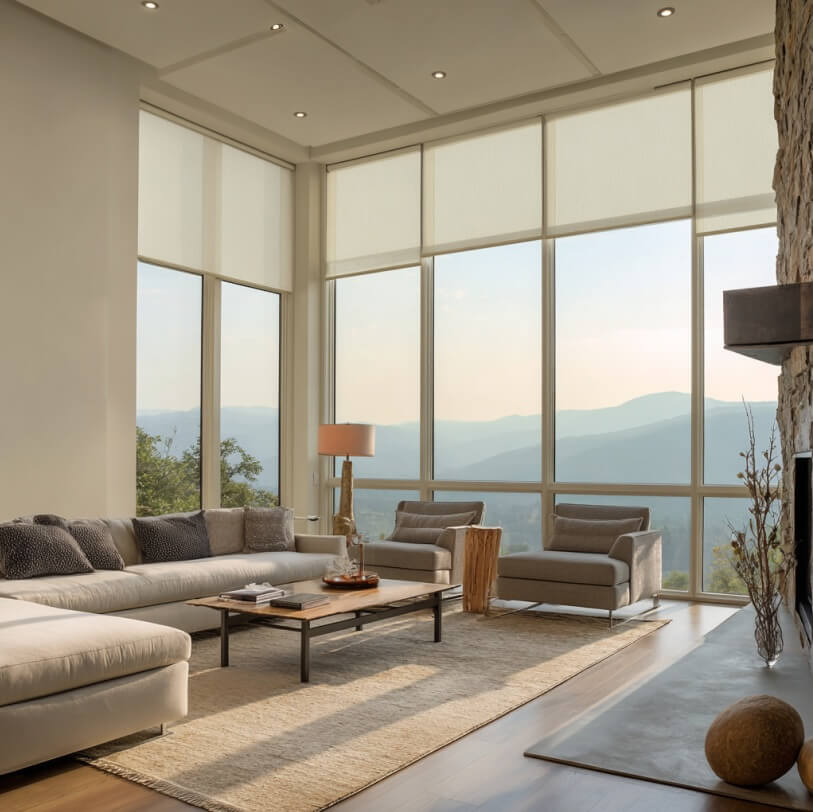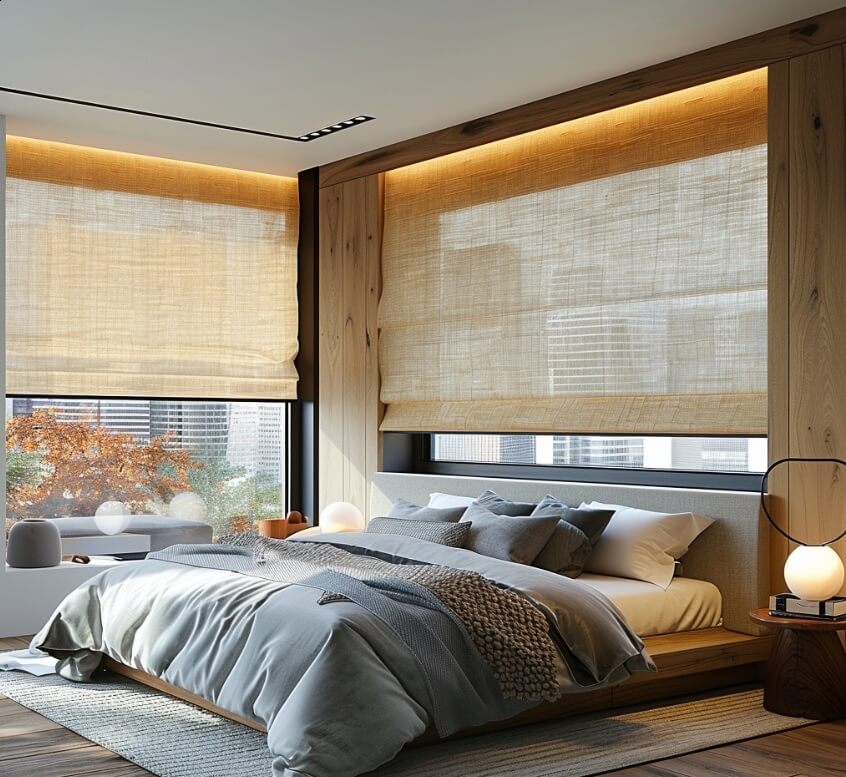
Expansive windows are dressed with woven Roman shades in natural beige, filtering the city light into a soft, golden glow.
This image is AI-generated and intended for inspirational purposes only; it may not be completely accurate.
Selecting window treatments is exciting, but accuracy is everything. With window shades in Orange County, CA in mind, precise measurements ensure crisp lines, dependable coverage, and smooth operation. Good measuring prevents gaps that let in glare or shades that crowd trim. Approach the task methodically, and your results will look tailored, function well, and align with your design goals.
Gather the Right Tools
Use a steel tape measure marked in inches and eighths, a sturdy notepad, a pencil, and a small level. A straightedge helps when sills or frames have subtle curves. Avoid cloth tapes, which can stretch. Create a separate line in your notes for each window so every figure stays tied to the correct room and location.
Decide on Mount Style
Inside mounts fit within the frame for a streamlined look and maximum architectural detail. Outside mounts overlap the opening to increase coverage and visual presence. Choose the style that suits your room’s proportions and the amount of light control you want. Your decision determines both where you measure and how you interpret each result.
Measure Inside Mount Widths
For an inside mount, take width measurements at the top, middle, and bottom of the opening. Record the narrowest number to accommodate slight variations. Note jamb irregularities and caulk lines. If the frame bows inward, consider a slightly smaller finished width so the shade moves freely without rubbing.
Measure Inside Mount Heights
Measure height at the left, center, and right. Record the tallest figure to ensure full coverage down to the sill or desired stopping point. If the sill slopes, measure to the highest contact point. For deep frames, note the recess depth to confirm there is space for hardware and smooth operation.
Measure Outside Mount Coverage
For outside mounts, decide how far beyond the opening you want the fabric to extend. Add at least two inches on each side and above the top line to reduce light halos. Measure the planned overall width and height, starting from the intended top line down to the finish point. Confirm there is a flat surface for components.
Account for Obstacles and Squareness
Check for locks, handles, cranks, sensors, and trim details that might interfere with movement. Use your level to test squareness; large differences between diagonal measurements indicate a skewed frame. When frames are out of square, rely on the smallest width and largest height so the shade clears high spots and covers low ones.
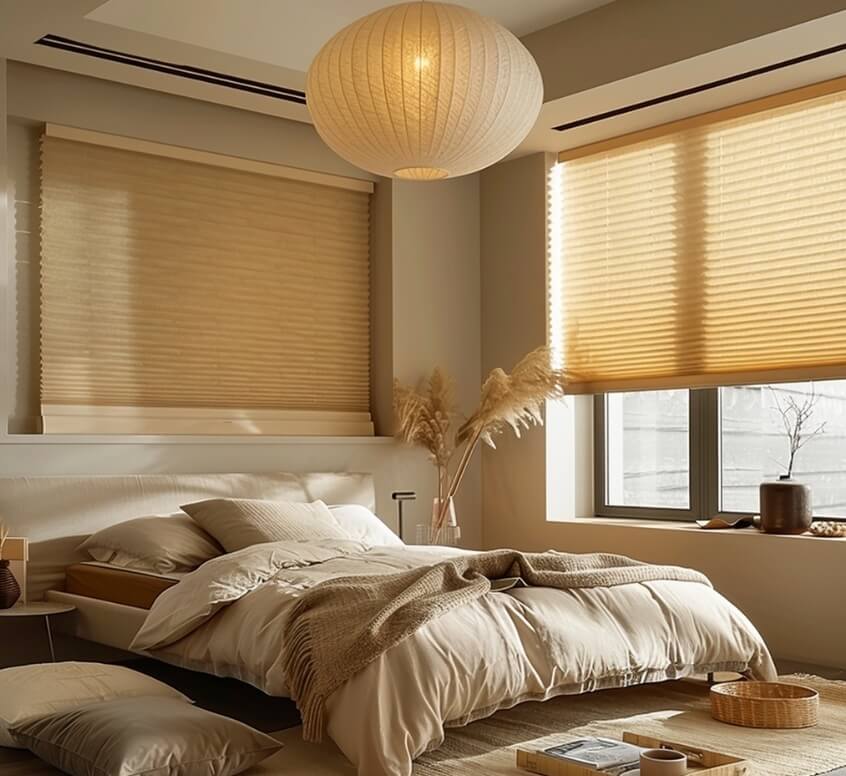
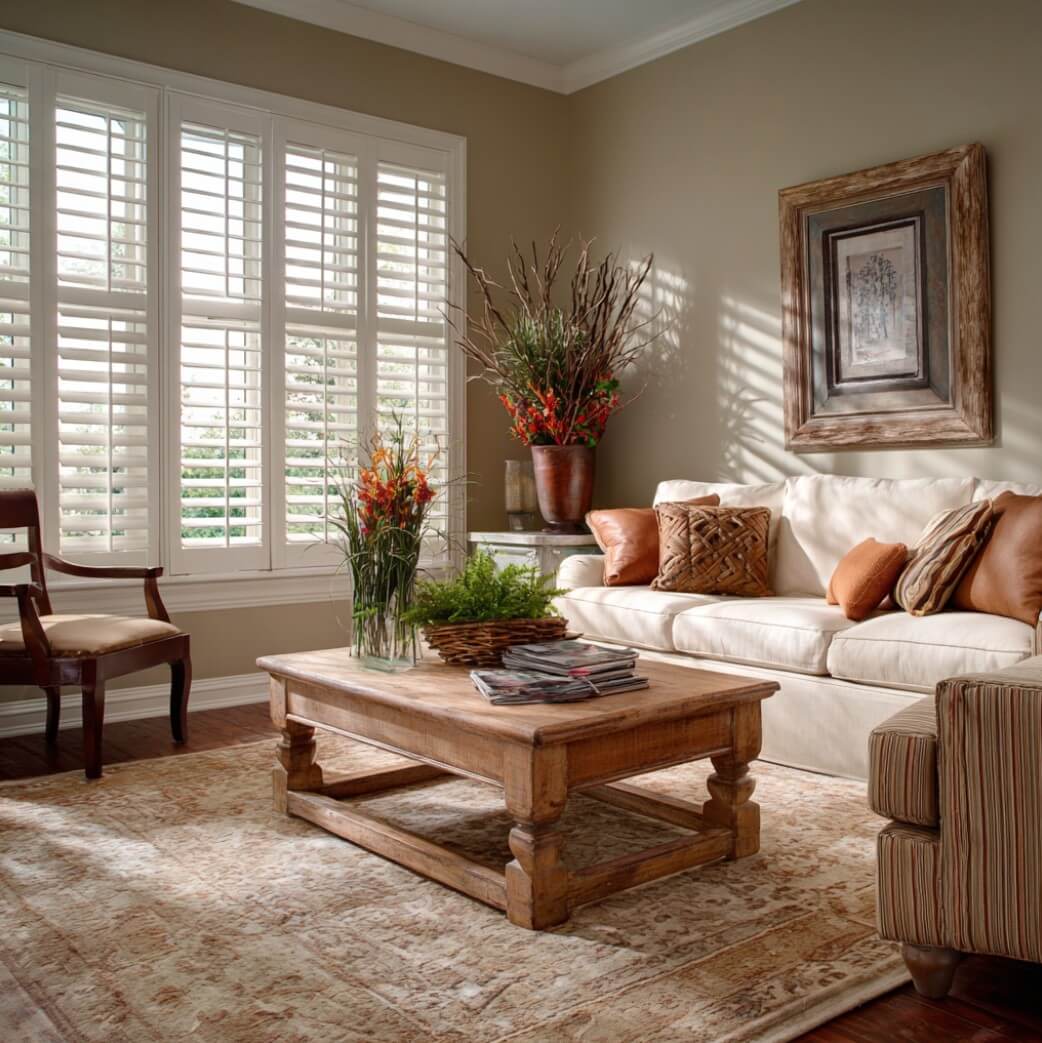
Simple beige pleated shades allow filtered natural light to enter, creating a warm and soothing glow.
This image is AI-generated and intended for inspirational purposes only; it may not be completely accurate.
Note Depth and Projection
Depth matters for inside mounts, as limited recess space can affect hardware placement. Projection, the distance a shade extends from the wall, should be considered for outside mounts, especially near furniture or decorative elements. Factoring these in avoids operational challenges and ensures a polished appearance once the shades are in place.
Measure for Specialty Shapes
If you have arched, angled, or unusually shaped windows, note the widest and tallest points. Specialty shapes often require custom fabrication, so precise dimensions are critical. Use a flexible curve ruler or create a paper template to match the shape exactly. This step ensures a consistent fit across all openings in the room.
Verify, Label, and Plan Next Steps
Record each window’s final width and height, rounding to the nearest one-eighth of an inch. Clearly label every set with the room name, window orientation, and mount style. Double-check every dimension before ordering to avoid mismatches or installation issues. Careful organization at this stage ensures each window shade fits exactly as intended, maintaining consistency and quality throughout your home.
Professional Help for Window Shades in Orange County, CA
Accurate measuring takes patience and precision and even small miscalculations can lead to costly replacements. To ensure flawless results, rely on the experienced professionals at White’s Draperies and More. Our team provides expert measurement, design guidance, and seamless installation for custom window shades in Orange County, CA. We make sure every shade fits perfectly, functions smoothly, and complements your home’s style, so you can enjoy comfort, privacy, and lasting beauty with confidence.